Simple idea may take time to emerge.
Baltic grid mode presentation
Up to now, in Seizenn, there were two ways to draw a baltic pattern.
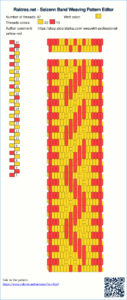
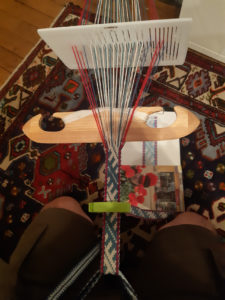
1) In the mode “ Edit an inkle loom pattern”, you can play with pickups and drops thread by thread. I will refer to this as the “realistic tool”.
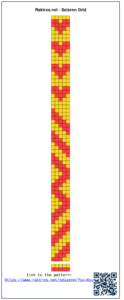
2) In the mode “Edit a square pattern” you can create a grid (or block) chart. I will refer to this as the “Baltic grid” mode.
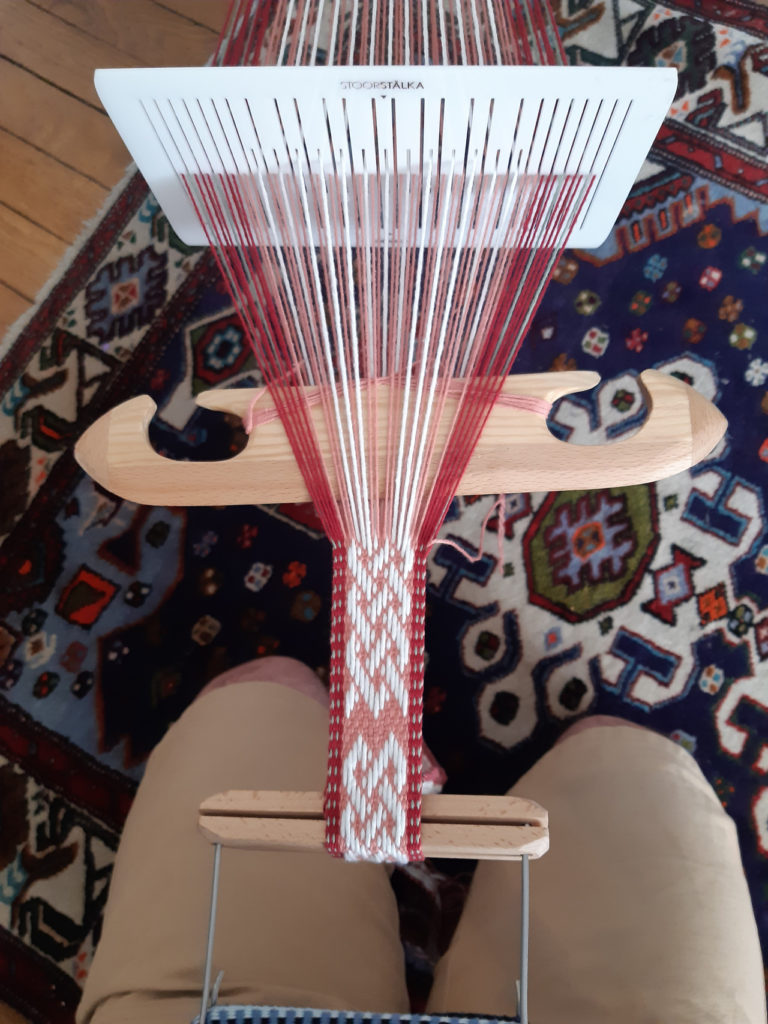
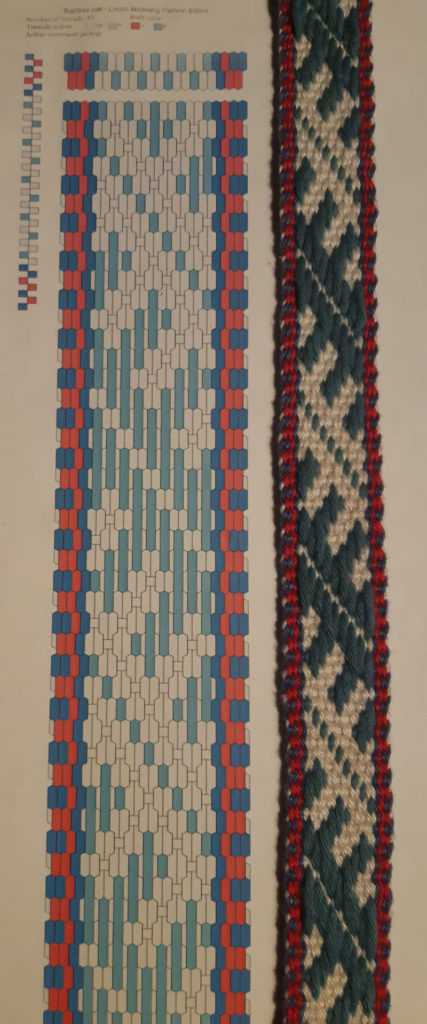
Grid charts are more common for Baltic pickup patterns, but they do not give a realistic preview of what the resulting band will look like.
As both are useful, I was asked several times to be able to switch from one to the other and back. I was quite reluctant because it would have been very difficult to program and it would have work in very few cases. The two tools work a very different way, you can draw pattern in one tool that would be impossible to create with the other (three color pattern, carpet pattern etc).
With the experience of what I did with tablet weaving tool (sulewasi mode), I tried an other way to fulfill the need, far simpler.
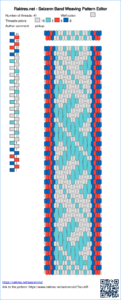
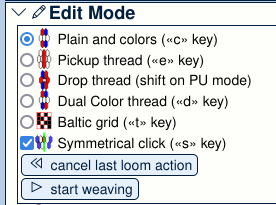
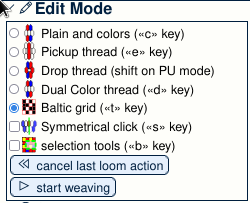
In the realistic tool, in the “Edit Mode” panel I just added a feature that allows you to select “baltic grid”. It will not work for 3-color pickup patterns, it’s just for simple 2-color baltic patterns.
For a 5 min video => https://www.youtube.com/watch?v=wQToadxlWv8
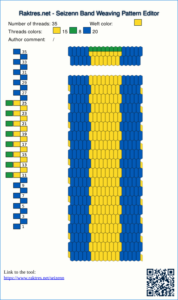
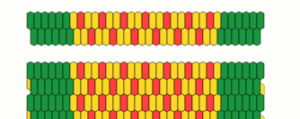
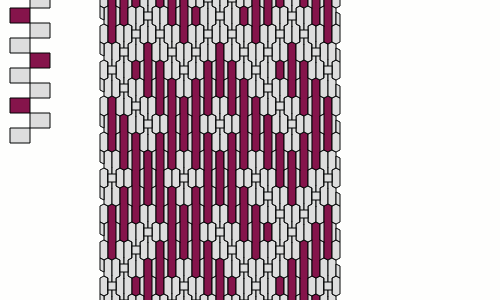
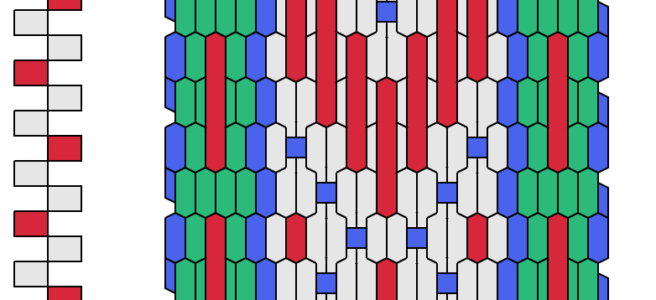
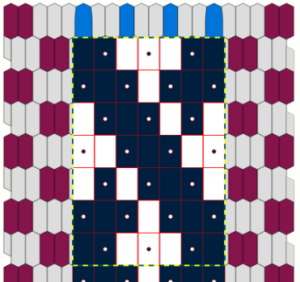
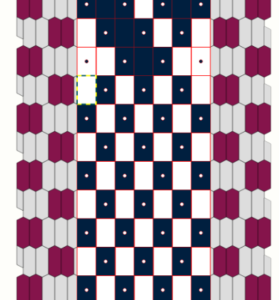
When you select it, you switch from
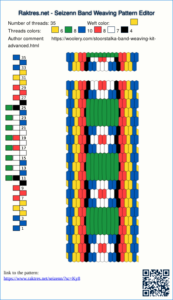
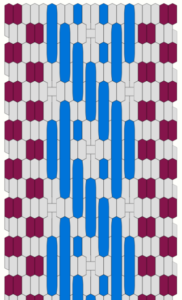
to 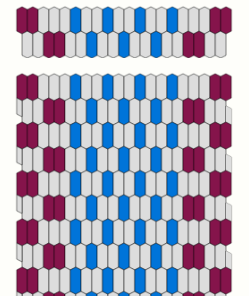

Grid parameters
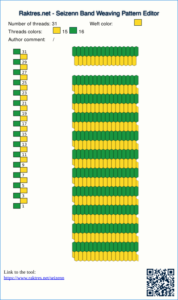
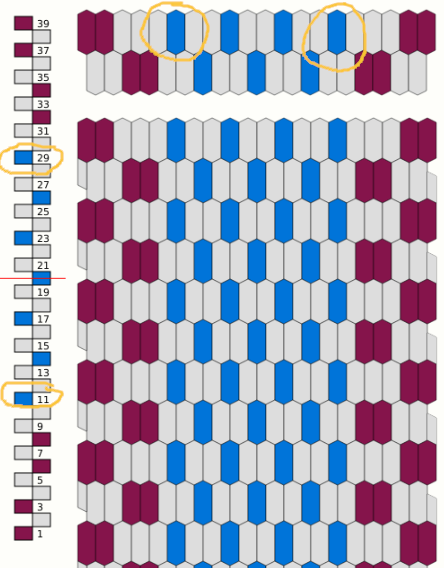
To use this mode, you need to adjust where the baltic grid begins on the left and where it ends on the right.
In the threading pattern, you see the first blue dot is done with the 11th thread, and the last one is done with 29th thread
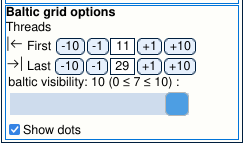
When you select “baltic grid”, new options become available in the “display options” panel.
In this panel, where it says “Threads” set the “first” and “last” values, 11 and 29 in this example.
Grid use
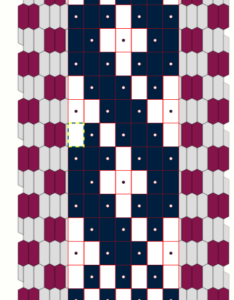
You can then click on the grid to create your pattern
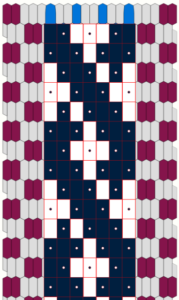
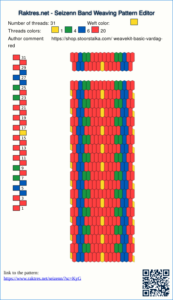
If you leave the “baltic mode”, you can see the result
In the “Display Option” panel you can also adjust opacity of the grid with the “baltic visibility” slider.
If you create a picture while you are in “baltic grid”, the grid pattern will be visible. Thus you can choose the pattern representation you want during weaving.
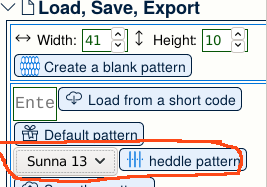
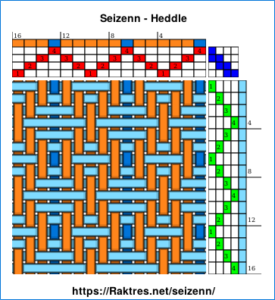
When you use ![]() or Sunna Heddle pattern
or Sunna Heddle pattern![]() , first and last parameters are set automatically.
, first and last parameters are set automatically.
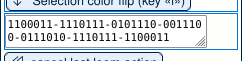
Selection tool
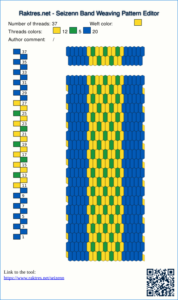
In the “Edit Mode” panel, when you select “baltic grid” mode, a “selection tools” checkbox appears. If you check this function, new buttons appear.
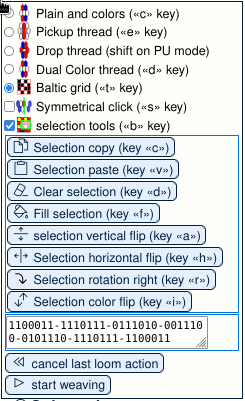
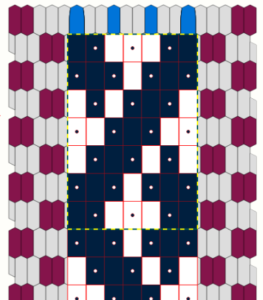
You can then select an area on the grid with you mouse. The area is surrounded with dashed blue and yellow line.
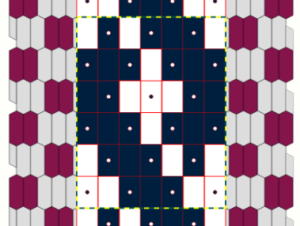
When an area is selected, you can act on it using the different buttons. For example you can flip it horizontally.
You can also copy and paste an area. With this selection, click on “selection copy”
Animation showing copy and paste
Use clipboard to copy pattern from square tool
you may notice that a representation of the selected area appears on the tool panel.
You can then select the up-left point of the place you where you want to paste the pattern.
Then click on “selection paste”, you then get :
Animation showing how to copy a pattern from square tool.
Conclusion
There are limitations. For example it may not work if you have two baltic patterns side by side on the same band with a plain weave gap between the two. When you save a pattern, grid position is not saved. Of course will not work for 3-color patterns.
Hope this new mode will help you.