On the page aspinnerweaver.blogspot.com/p/resources.html, there is a link to a Norwegian Pick-up Bandweaving tutorial (norwegianpickupbandweaving.com/2015/05/12/pattern-design-basics/)
Let’s see how pattern editor could help us.
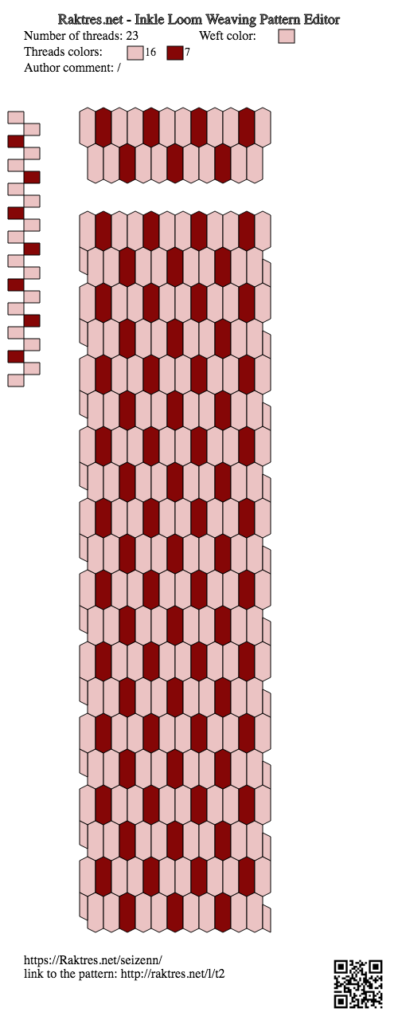
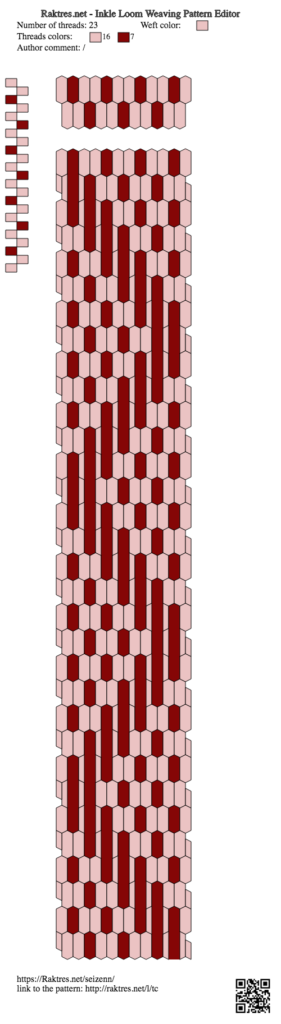
Plain pattern
Following the tutorial, first create a base plain pattern like the next one (http://raktres.net/l/t2). Don’t worry for the colors, it’s easy to change them later.
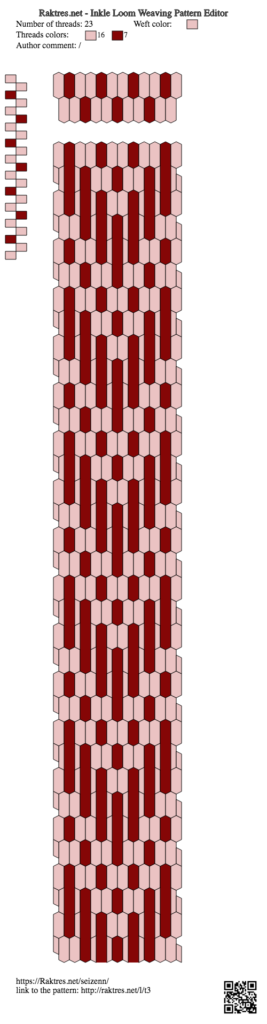
Pickup threads
Using this base, you can then pickup some threads.
Select “Pickup thread” 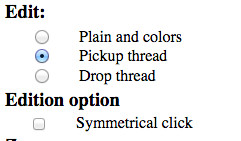 and click on pattern to get:
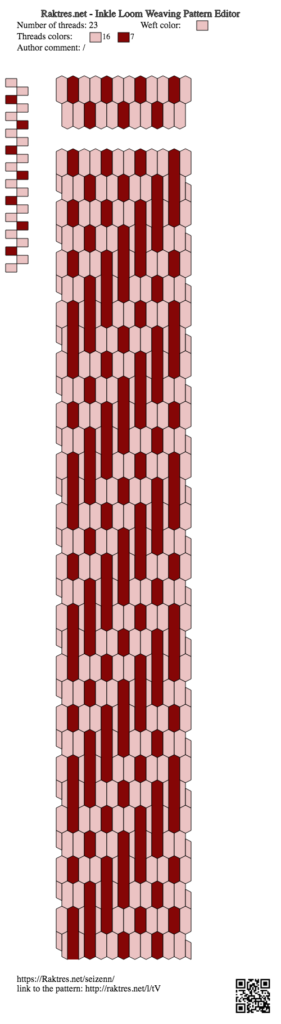
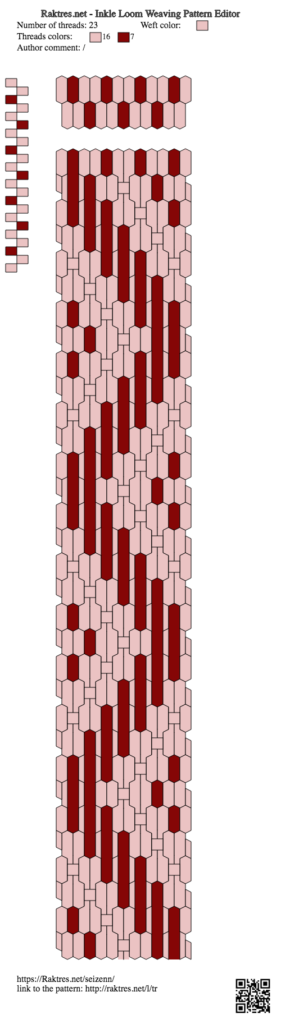
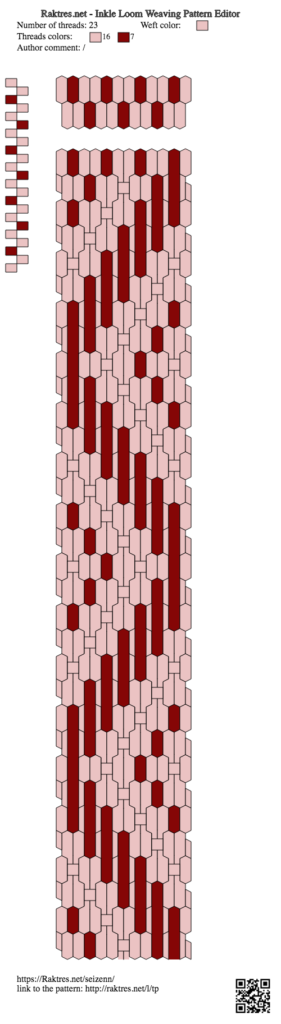
Save your pattern, click on “reset” and you could create the next ones:
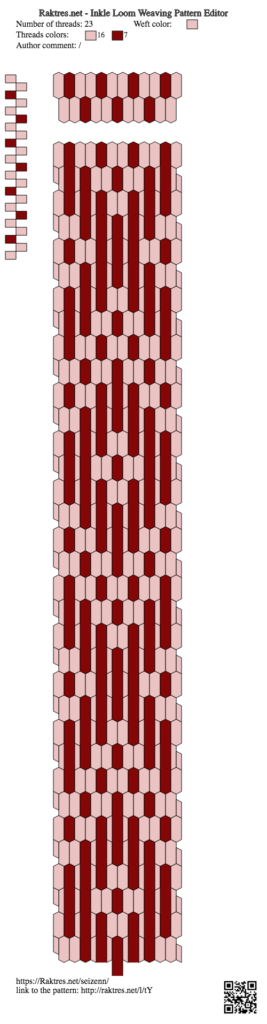
For last two, don’t forget to select first the “symmetrical click” option to save some clicks.
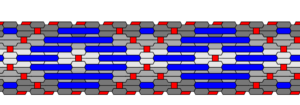
Drop thread
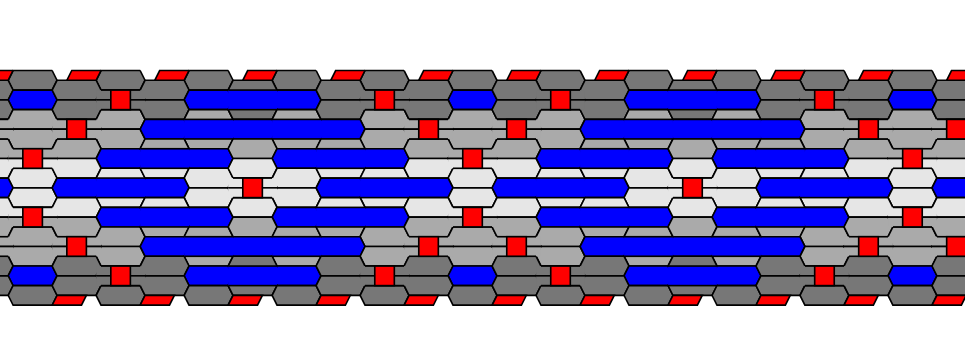
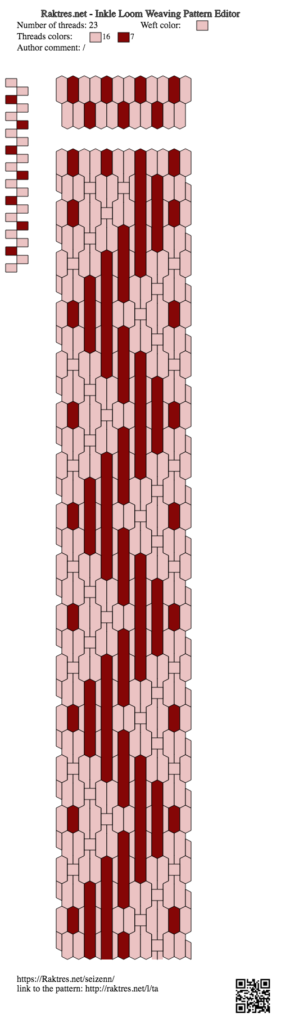
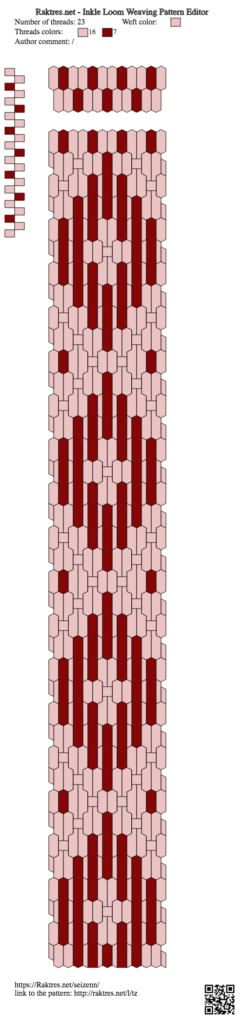
When you are OK with pickup, you could try to drop threads. First pickup some threads and then select the “drop thread” option 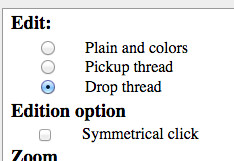
You could easily get one of these
At first, using this editor could seems complicated compared to the use of a square pattern as in the tutorial. But for a beginner the editor shows clearly what happens to threads during weaving. Furthermore, it’s very simple to play with colors.
We also will see next time how to include a pickup pattern in a larger loom project.