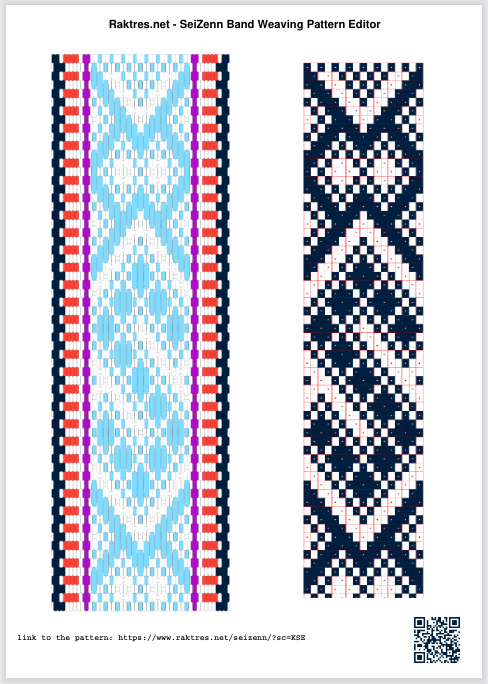
Baltic grid mode

Simple idea may take time to emerge.

Baltic grid mode presentation

Up to now, in Seizenn, there were two ways to draw a baltic pattern.

1) In the mode “ Edit an inkle loom pattern”, you can play with pickups and drops thread by thread. I will refer to this as the “realistic tool”.

2) In the mode “Edit a square pattern” you can create a grid (or block) chart. I will refer to this as the “Baltic grid” mode.

Grid charts are more common for Baltic pickup patterns, but they do not give a realistic preview of what the resulting band will look like.

As both are useful, I was asked several times to be able to switch from one to the other and back. I was quite reluctant because it would have been very difficult to program and it would have work in very few cases. The two tools work a very different way, you can draw pattern in one tool that would be impossible to create with the other (three color pattern, carpet pattern etc).

With the experience of what I did with tablet weaving tool (sulewasi mode), I tried an other way to fulfill the need, far simpler.

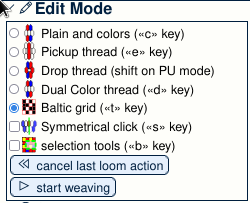
In the realistic tool, in the “Edit Mode” panel I just added a feature that allows you to select “baltic grid”. It will not work for 3-color pickup patterns, it’s just for simple 2-color baltic patterns.

For a 5 min video => https://www.youtube.com/watch?v=wQToadxlWv8

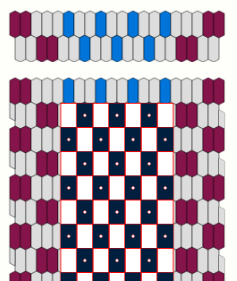
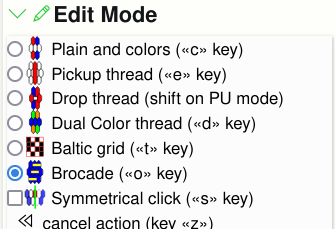
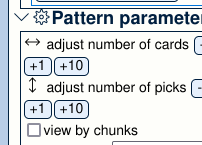
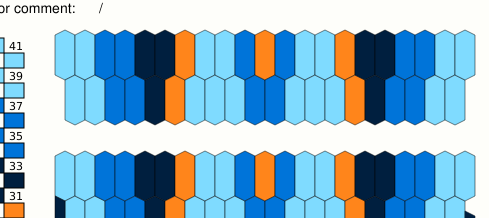
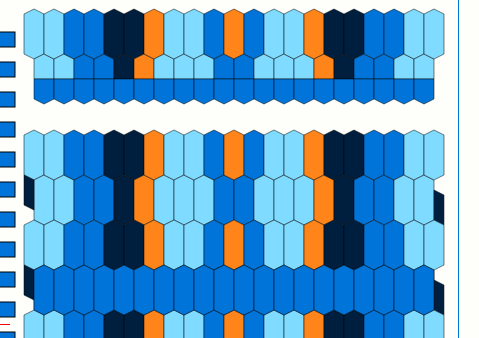
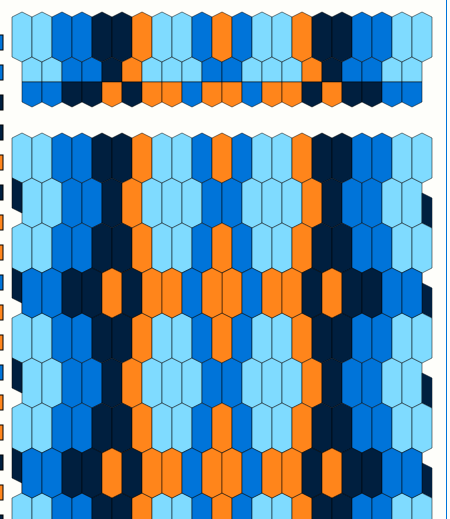
When you select it, you switch from

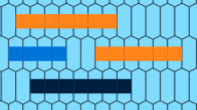
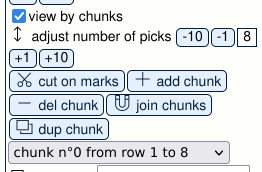
to    
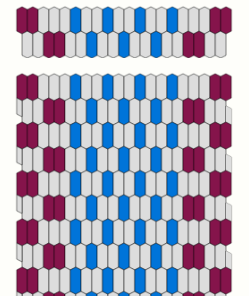
 

Grid parameters

To use this mode, you need to adjust where the baltic grid begins on the left and where it ends on the right.

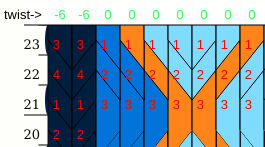
In the threading pattern, you see the first blue dot is done with the 11th thread, and the last one is done with 29th thread
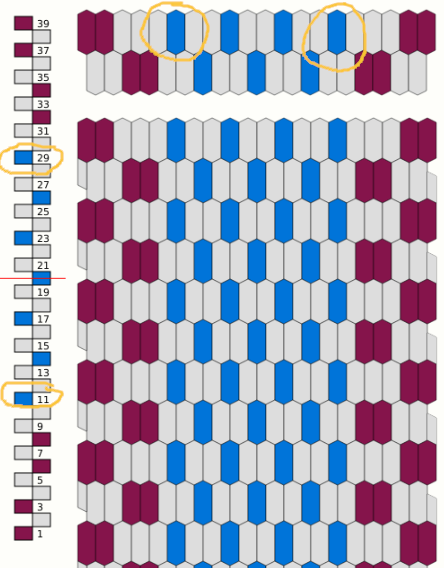
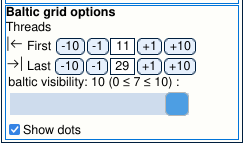
When you select “baltic grid”, new options become available in the “display options” panel.

In this panel, where it says “Threads” set the “first” and “last” values, 11 and 29 in this example.
Grid use

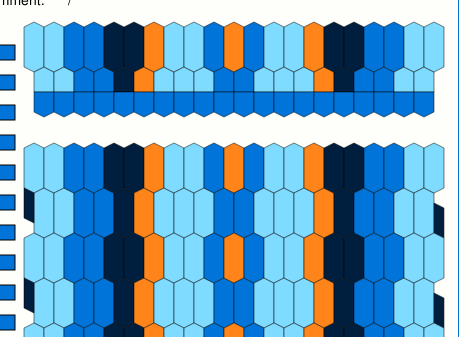
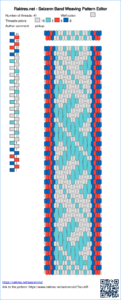
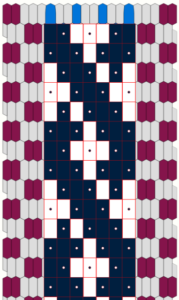
You can then click on the grid to create your pattern
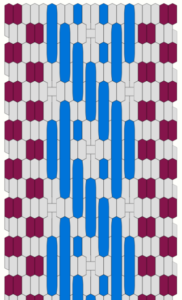
If you leave the “baltic mode”, you can see the result
In the “Display Option” panel you can also adjust opacity of the grid with the “baltic visibility” slider.

If you create a picture while you are in “baltic grid”, the grid pattern will be visible. Thus you can choose the pattern representation you want during weaving.

When you use   or Sunna Heddle pattern, first and last parameters are set automatically.

Selection tool

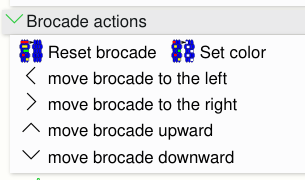
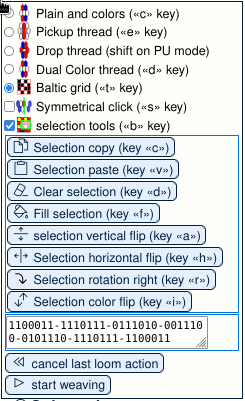
In the “Edit Mode” panel,  when you select “baltic grid” mode, a “selection tools” checkbox appears. If you check this function, new buttons appear.
You can then select an area on the grid with you mouse. The area is surrounded with dashed blue and yellow line.
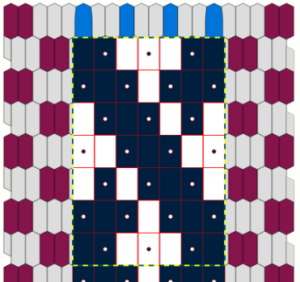
When an area is selected, you can act on it using the different buttons. For example you can flip it horizontally.
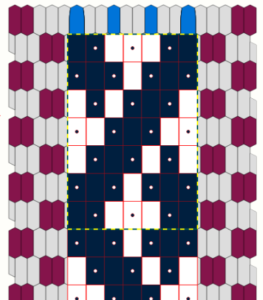
You can also copy and paste an area. With this selection, click on “selection copy”
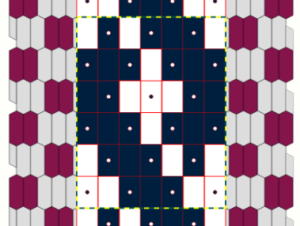
 

Animation showing copy and paste

Use clipboard to copy pattern from square tool

you may notice that a representation of the selected area appears on the tool panel.

You can then select the up-left point of the place you where you want to paste the pattern.
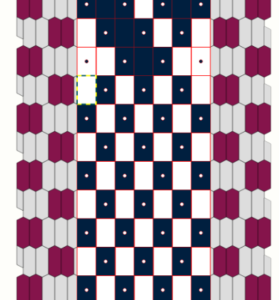
 

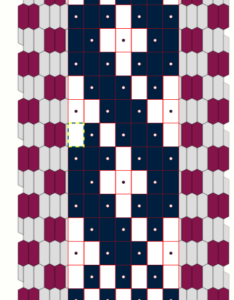
Then click on “selection paste”, you then get :
 

Animation showing how to copy a pattern from square tool.

Conclusion

There are limitations. For example it may not work if you have two baltic patterns side by side on the same band with a plain weave gap between the two. When you save a pattern, grid position is not saved. Of course will not work for 3-color patterns.

Hope this new mode will help you.


Double sided 3 color pattern with rigid heddle

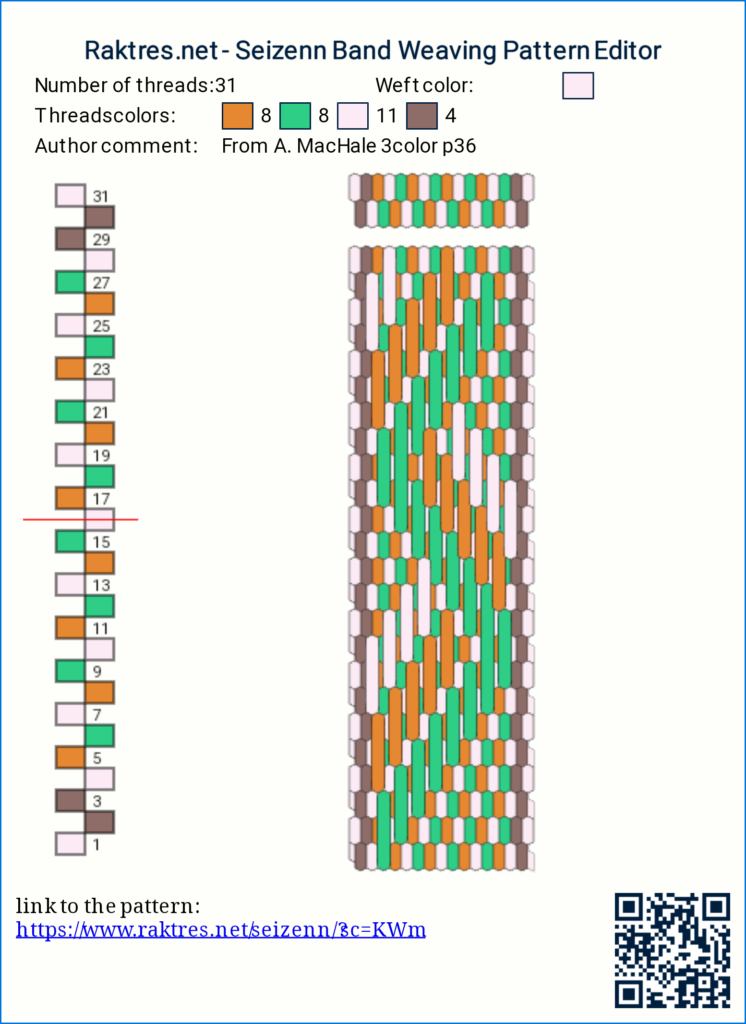
From Flaab I also bought a small rigid heddle. Back home, I wanted to try it on my weighted frame and chose to experiment 3 color patterns from Annie MacHale (https://www.taprootvideo.com/preview_class.jsf?iid=12&cid=2)

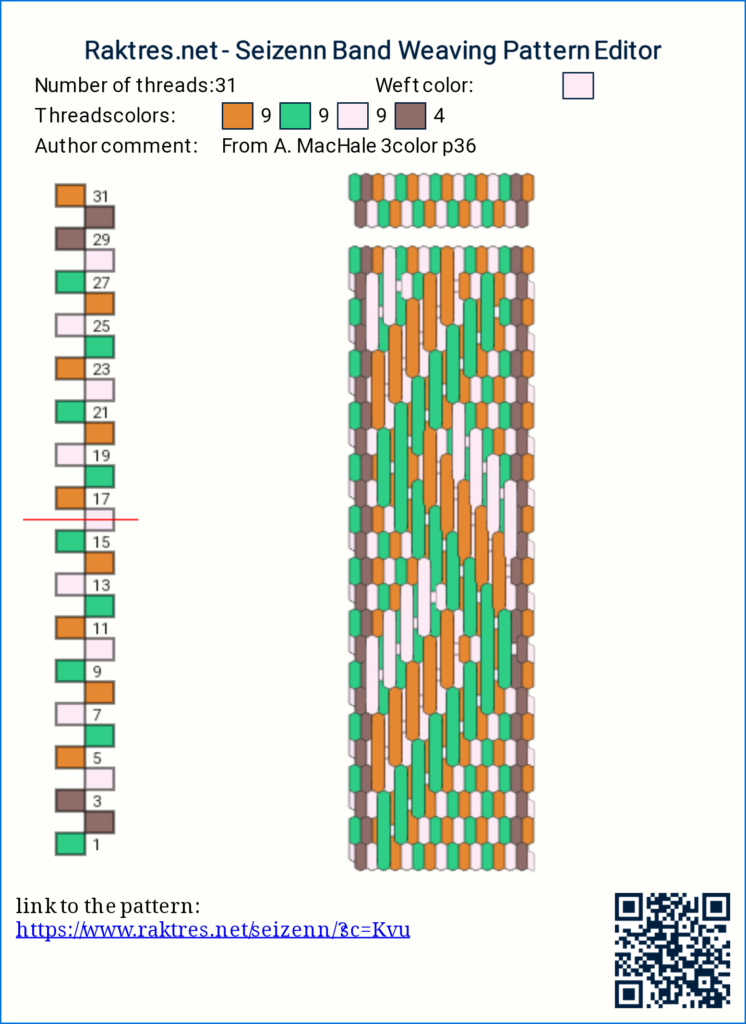
As the heddle is quite narrow,  31 threads, some modifications were needed. The first idea was

I then decided to modify it to get a 3 color pattern on both sides (and changed border threads)

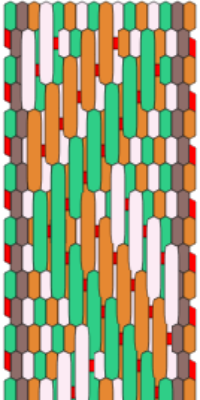
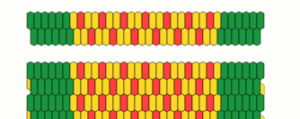
Modifications are very simple and not obvious with a white weft. To show them, here is the pattern with a red weft.

Everytime I pick up a thread, I drop the right next one. Very easy to do (that was my first 3color band) and result is nice.

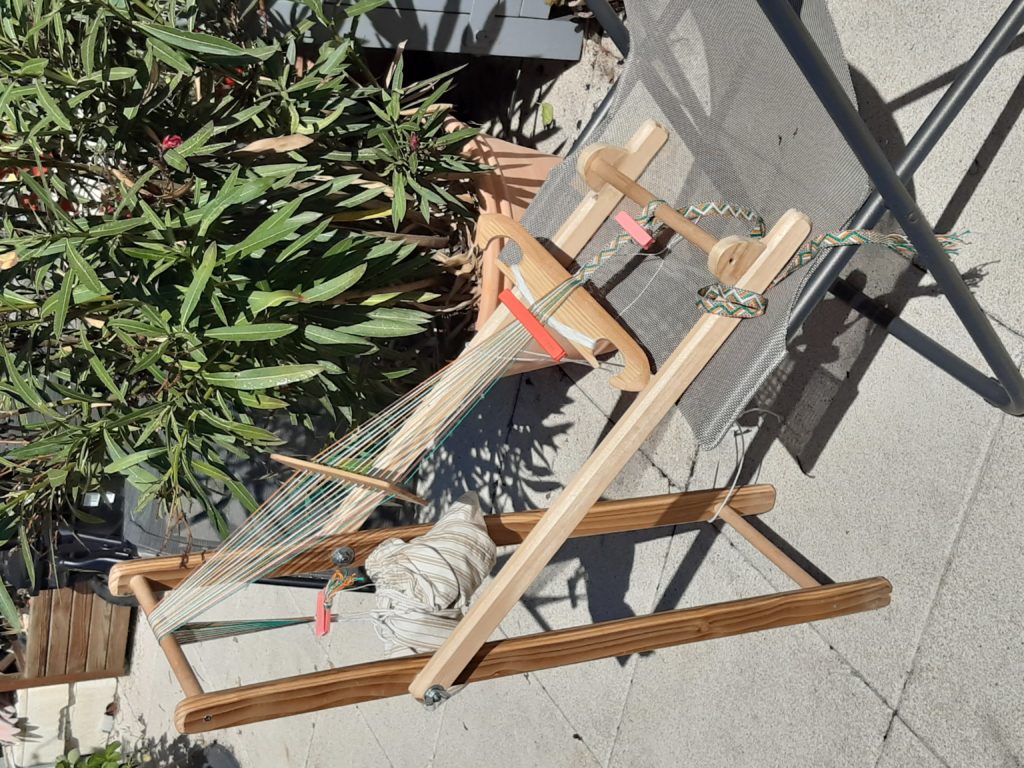
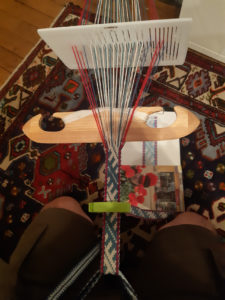
Here is a picture of the setup

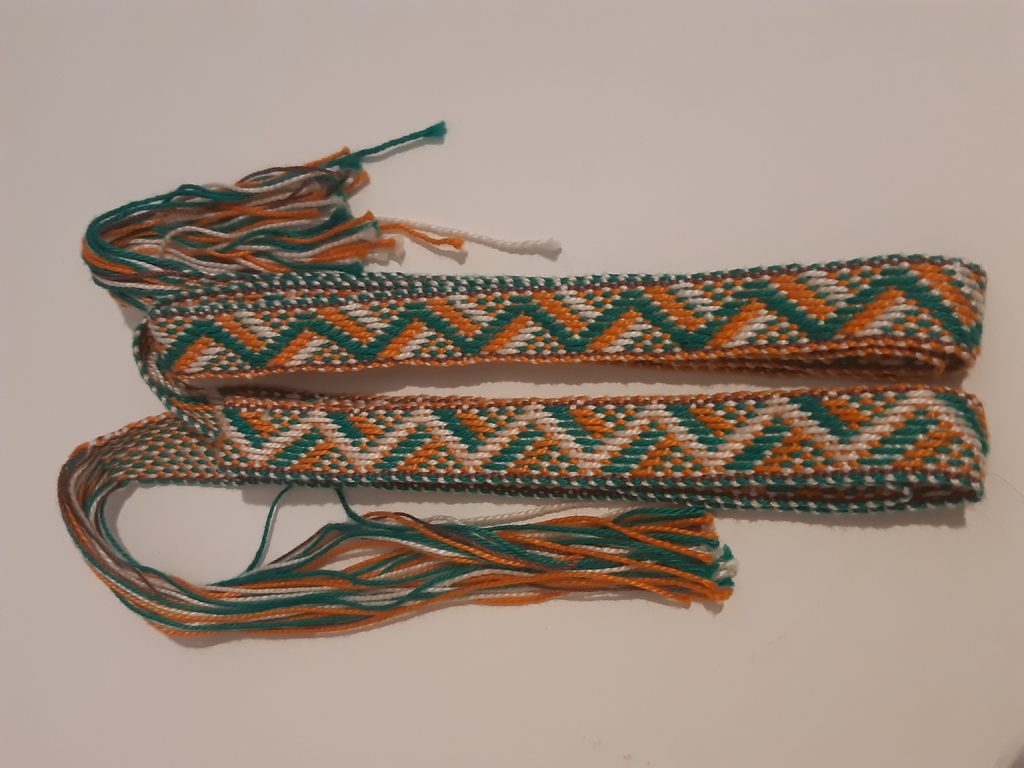
The two faces of the band.

Tissage aux cartes

Bonjour

Petite pause estivale.

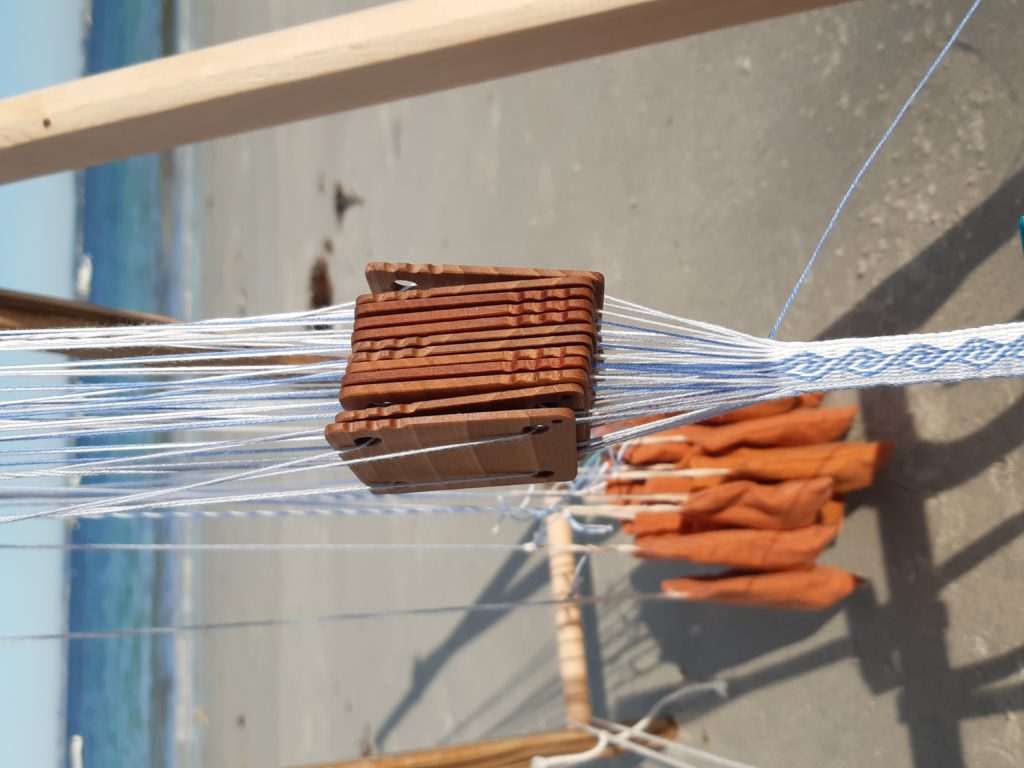
J’ai commandé auprès de Flaab des cartes de tissage en bois que je recommande vivement.

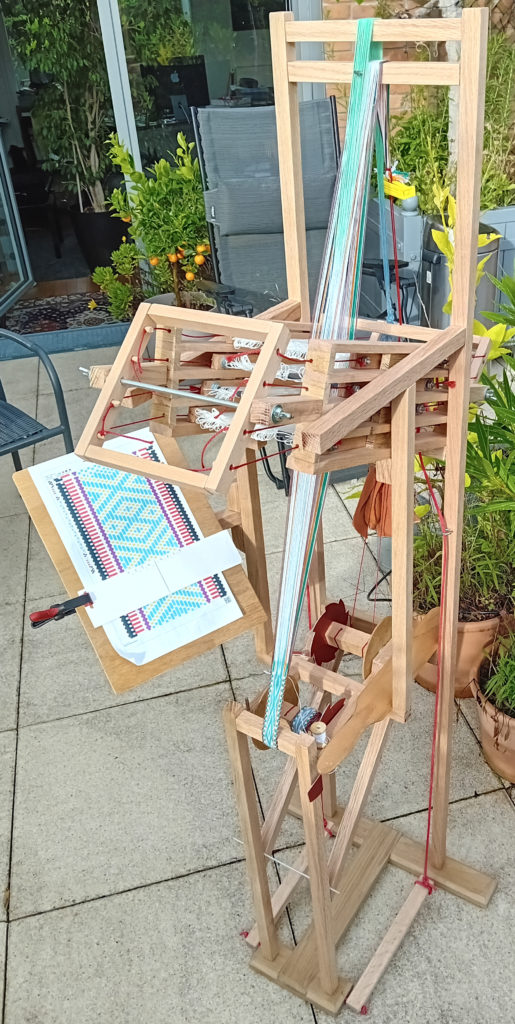
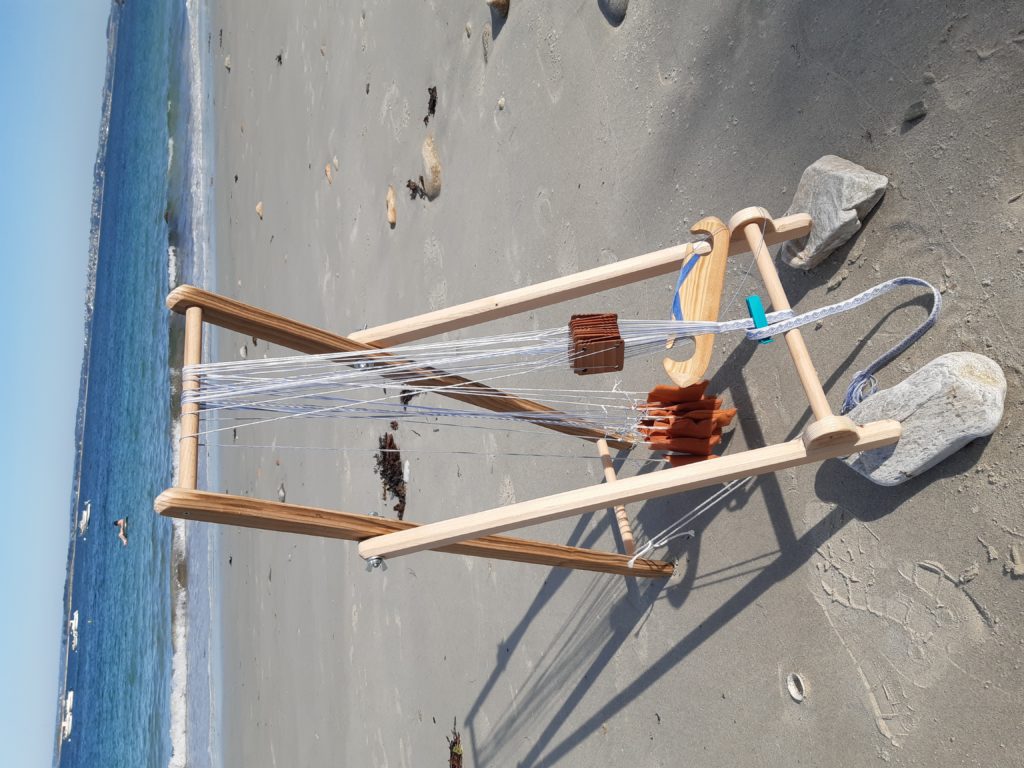
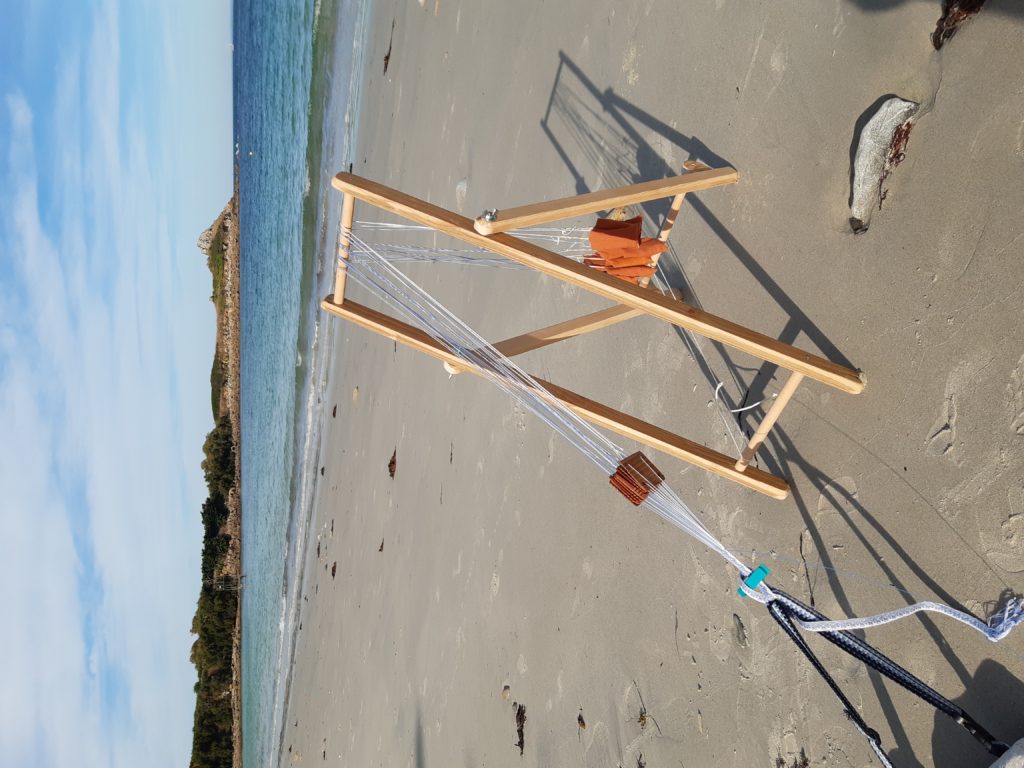
Pour les utiliser partout, j’ai construit un petit chevalet qui peux être utilisé seul

ou avec une ceinture.

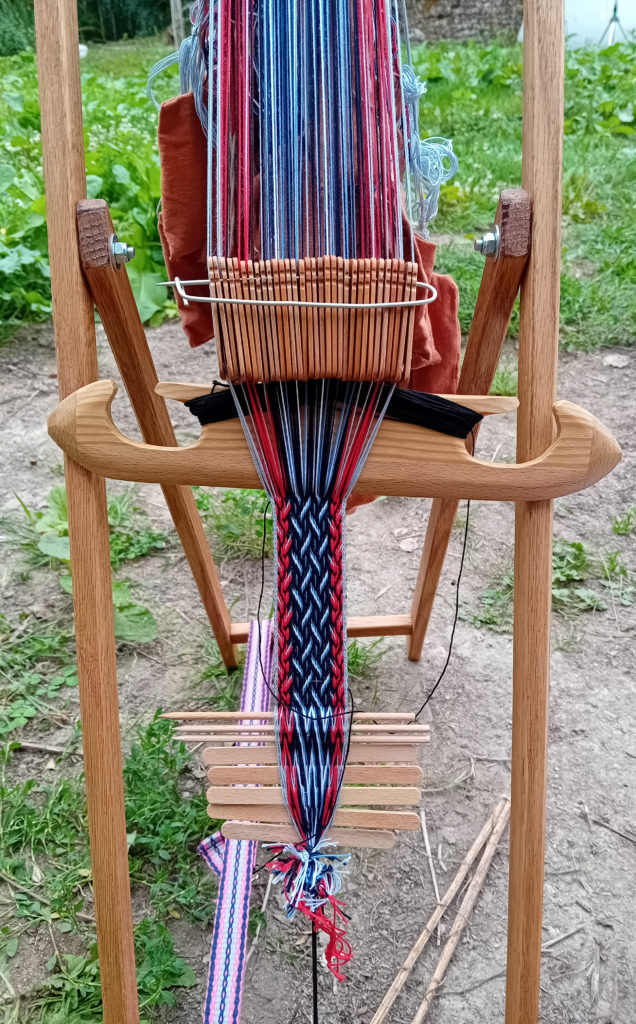
Les poids sont faits avec des boulons de roue de voiture (80g) enveloppés dans des petits sacs en tissus.

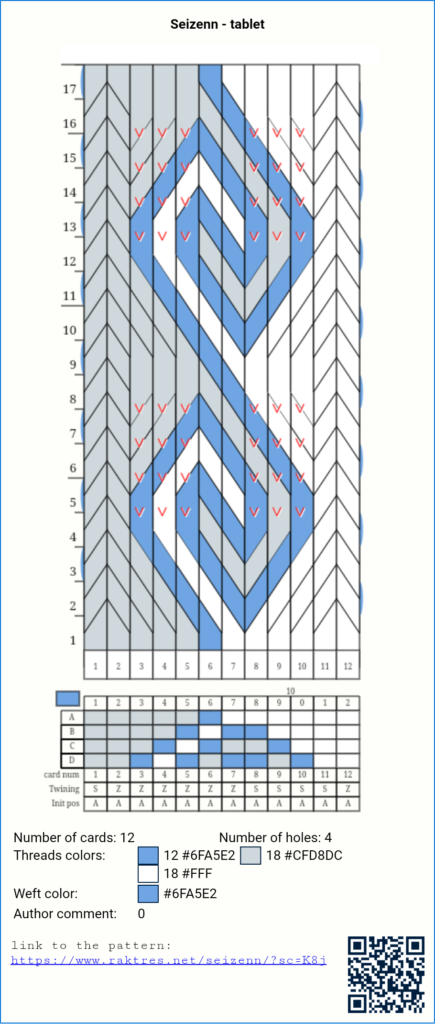
J’ai choisi un motif simple assorti avec le lieu.


Stoorstalka heddles

Seizenn offers facilities for creating patterns for stoorstalka rigid heddles.

The pattern presented here are mainly taken from the stoorstalka sets available on the site https://shop.stoorstalka.com/en/products/handicrafting-diy/yarn/weaving/

We first choose a common color palette for the Nordic patterns. In the palette creation tool , let choose palette “30”.

Then we will open the tool for “realistic” patterns


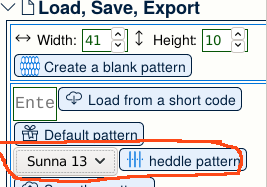
In the left menu, go to the “load, Save, Export” submenu. There is a drop-down list with the different heddle models. Just choose a pattern and click on the “heddle pattern” button.

The models available are basic, sigga and sunna. By default the models use the first colors of the palette.

Basic Pattern

Basic heddle is for simple plain weave band. 4 size are available corresponding to the total number of threads : 31, 63, 103, 131.

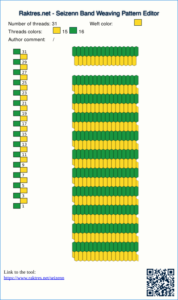
For “basic 31” you get this default pattern.

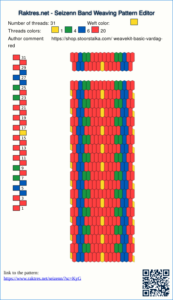
You can then modify it to get, for exemple (beginner-level-1/weavekit-basic-vardag-red) ,

Sigga Pattern

Sigga heddle are for dual color float pattern. There are three sizes , 8, 16, 24, corresponding to the number of floating threads.

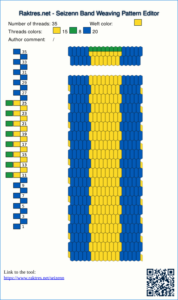
The Sigga 8 default pattern looks like  

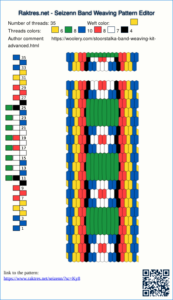
You note that there are 8 green dual color floating thread. Pattern is 35 threads wide and 8 threads have dual colors.

Using the dual color mode and the pickup mode you can get a pattern like (https://woolery.com/stoorstalka-band-weaving-kit-advanced.html)

Sunna

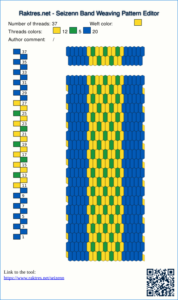
Sunna heddle is for pickup pattern (baltic). 4 sizes are available, 5, 7, 9, 13 corresponding to the number of pickup dots, the width of the pattern. Sunna 5 pattern has a total of 37 threads.

The Sunna 5 default pattern in seizenn is

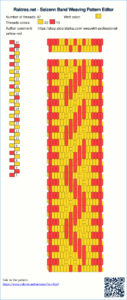
You can modify it according to https://shop.stoorstalka.com/en/products/handicrafting-diy/yarn/weaving/band-weaving-kit/professional-level-3/weavekit-professional-yellow-red.html  using the pickup tool.

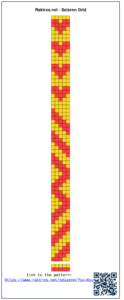
You could also use the grid tool to create you pattern

Application

This is a personnal project using Sunna 13 heddle. I didn’t use all the border holes.

Starting from default Sunna 5 pattern, you can do this in Seizenn by removing threads and using arrow buttons to move threads and patterns.

A few improvements for this new year

Hi

For this new year I present to you some small improvements for Seizenn.

Lists of patterns

When you save a pattern, it is by default visible for everyone in the public list. It’s now possible to make it private using the “restrict” button in you private list.

Loom colors

You can have colors in your «loom palette» that are not used in your pattern. Now those colors are bordered with brown like this :

Rigid heddle pattern

In loom editor you can load default pattern for some popular rigid heddle

You then get

New tools

Seizenn was first designed for plain weave or baltik bands. I then added a grid tool. I recently wanted to explore some other weaving technics.

Now you have two new tools.

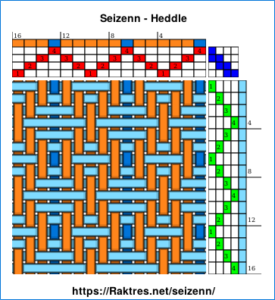
The first one to draw heddle loom patterns

https://www.raktres.net/seizenn/#/heddle

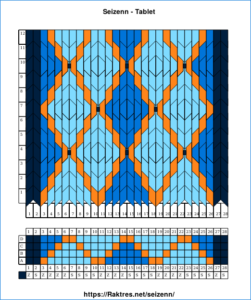
A second one to draw tablet patterns

https://www.raktres.net/seizenn/#/tablet

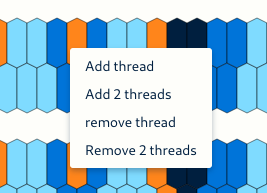
Those tools are very simple, I mainly created them to undestand how those kinds of pattern work. They reuse main principles of seizenn, and I just added a few new things like right-click menu in tablet tool.

I could improve them if they would be useful for someone.

Jeff

Extract colors from a picture

Hi

In Celebration of plain weave (page 27) Annie MacHale explains how to extract colors from a picture to create a color palette.

I tried to add a basic function like this in Seizenn. (https://www.raktres.net/seizenn/).

Open the Palette tool and go down the page to

You first need to load a picture. You can get a random picture from unsplash.com with  or load your own picture with . If you use Seizenn on a smartphone, you can get access to your camera !

For example, with a random picture, you can get :

Then Seizen use two different algorithms to extract colors from this picture :

With the first button, you take all those colors to create a new main palette

But it could be tricky to find yarns with the wanted colors. So instead of getting all the colors in a new color palette, use the second button.

Imagine that you use this main palette (the default one) and that you have all those colors at home

When you click on the “filter” button, Seizenn will try to find de nearest colors in your main palette that will fit the colors from the picture. You then get

(Sometimes, if main palette quite poor, it chooses colors that doesn’t seem to be very relevant)

Clic on “Add colors…” to get those colors in your loom palette and remove colors you don’t want to use.

You are now ready to design a pattern inspired by your picture

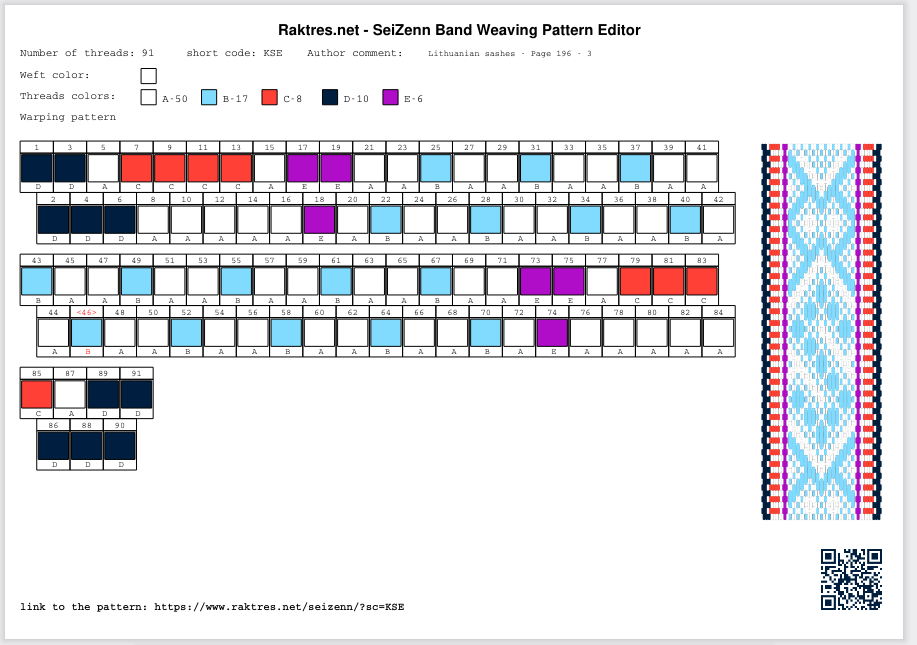
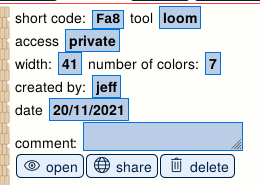
Link to the pattern : https://www.raktres.net/seizenn/?sc=Fa8

Maybe not the perfect tool, but a first try to see if it would be useful for someone.

Jeff


Seizenn interface evolutions – text buttons

Hi

The first version of seizenn (https://www.raktres.net/seizenn/editor.html) was created to work on desktop computers. When I began v2, I wanted it to work both on desktop and mobile devices and not to limit it to English speakers. I thought icons should help me for that two goals.

I received feedbacks saying the new interface was too disturbing.

As I continue to learn new programming things, I’m now able to adapt the new interface https://www.raktres.net/seizenn/

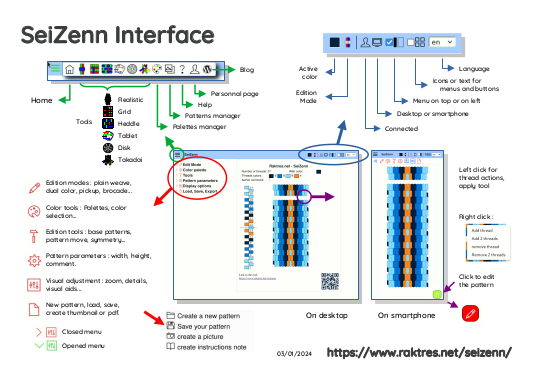
Now on top right of the screen there is a new menu :

  • the broken chain only appears when you are offline
  • clic on the icon with the profile to log. It’s red when you are not connected.
  • the third one shows if seizenn detect a desktop or a mobile device.
  • with the first checkbox, you choose if you want menu on the left of the screen or at the top
  • with the second checkbox you choose if you want to use icon or text button
  • use the selector to change language.

As an example, with the icon/text checkbox you can choose between

  or

When you open Seizenn on a desktop, the tool uses text button on the left by default. On a mobile device, it uses icons on top. You can change as you want.

You may notice that I now use the new link https://www.raktres.net/seizenn/ for the new version in replacement of https://www.raktres.net/seizenn/v2/. The old version remains available on https://www.raktres.net/seizenn/editor.html

I hope those new evolution will help you.

Jeff


A new way to register patterns

Hi

From the start, the method of saving and registering pattern was a bit clumsy.
You had to save the pattern in Seizenn’s screen, get two codes and then go and register it in the blog. It was the only way I had found to be able to assign a pattern to an author with a very simple Seizenn tool and without an authentication system (https://www.raktres.net/blog/2018/10/06/display-your-patterns-in-the-gallery/)

The new version of Seizenn ( https://www.raktres.net/seizenn/) allows me to develop much more efficient functions, for example a new way to save and share patterns.

First you log in the tool.

For that, open the main menu with and choose the  menu.

Type in the username and the password you use on the blog.

When it’s done, a little character appears at the top right of the screen. You are connected.

If you then save a pattern with the    button, you only get the shortcode to your pattern :

Go to the gallery page from the main menu.

The screen is devided into two parts, “List of public patterns” and “List of your patterns”. Click on the title to open the panel you want to open and click on “load” to refresh the list.

Your pattern should now be visible :

I will now work on improving personal page and gallery screen, adding functions, improving the interface.

Do not hesitate to leave a comment if you have any remarks or proposals.

Selection tool for grid patterns

Hi

I keep improving the seizenn tool.

After adding the possibility of making grid patterns, I tried to improve the use on the mobile device. The tool can now be installed on Android or iOS to be used without an internet connection. If you need help with the installation, you can see this article on installing a PWA .

I tested it on iPad, it’s really good.

The latest novelty is the addition of a selection function for grid patterns.

Select the button in the edition menu (the “pencil menu”).

When selected, several buttons appear.

When you click on the grid, the border of the selected cell switch to yellow.

You can select an area by holding down the mouse button.

It is then possible to:

  •   erase the selected area
  •   cut it
  •   swap colors
  •   fill it
  •   invert up-down
  •   invert left-right


When you have copied an area with the button, click where you want to paste it (the reference is the up left point), before pressing the button .

This function will facilitate the construction of repeating patterns.

=> => =>

Be careful, if the grid alternates, a paste may not give the expected result because of the offset. (A button might help in this case, please ask for it if needed).

The text box contains the content of the copied selection.

It can be modified, or saved in an external document. It is thus possible to share patterns or to build a library (small development to do if you find this function useful)

Do not hesitate to leave a comment to give your opinion on these new possibilities.


Band Pattern Editor overview videos

Hi

To help users get to grips with the new version of Seizenn, I started a series of videos.

They are intended to present the main functions of the tool, to show ways of using it.

The first presents the general interface of the tool as well as the principles of editing a band. https://youtu.be/-Nr8dm-IPSI Band pattern editor The second shows the use of the grid band editor. https://youtu.be/iUCrduK4Aco Grid band pattern editor

If you need a specific explanation or clarification, I encourage you to leave a comment.