Extract colors from a picture

Hi

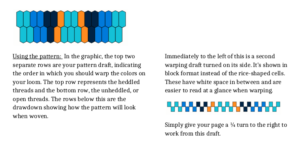
In Celebration of plain weave (page 27) Annie MacHale explains how to extract colors from a picture to create a color palette.

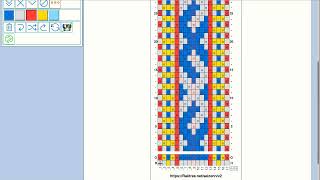
I tried to add a basic function like this in Seizenn. (https://www.raktres.net/seizenn/).
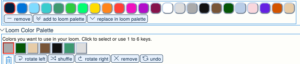
Open the Palette tool and go down the page to

You first need to load a picture. You can get a random picture from unsplash.com with  or load your own picture with . If you use Seizenn on a smartphone, you can get access to your camera !

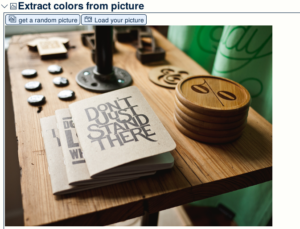
For example, with a random picture, you can get :

Then Seizen use two different algorithms to extract colors from this picture :

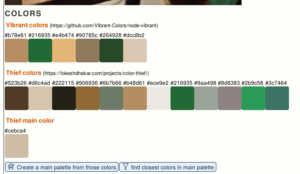
With the first button, you take all those colors to create a new main palette

But it could be tricky to find yarns with the wanted colors. So instead of getting all the colors in a new color palette, use the second button.

Imagine that you use this main palette (the default one) and that you have all those colors at home
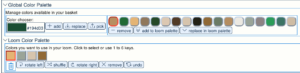
When you click on the “filter” button, Seizenn will try to find de nearest colors in your main palette that will fit the colors from the picture. You then get

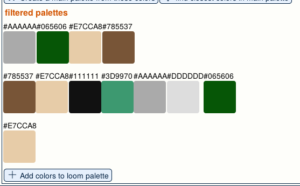
(Sometimes, if main palette quite poor, it chooses colors that doesn’t seem to be very relevant)

Clic on “Add colors…” to get those colors in your loom palette and remove colors you don’t want to use.

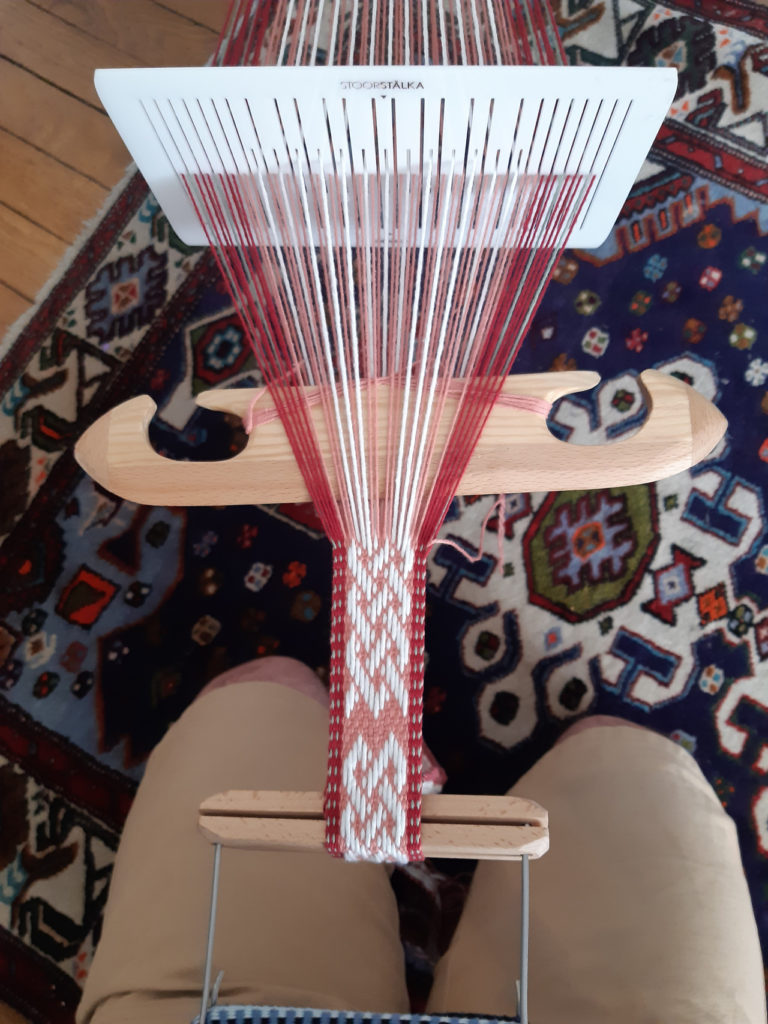
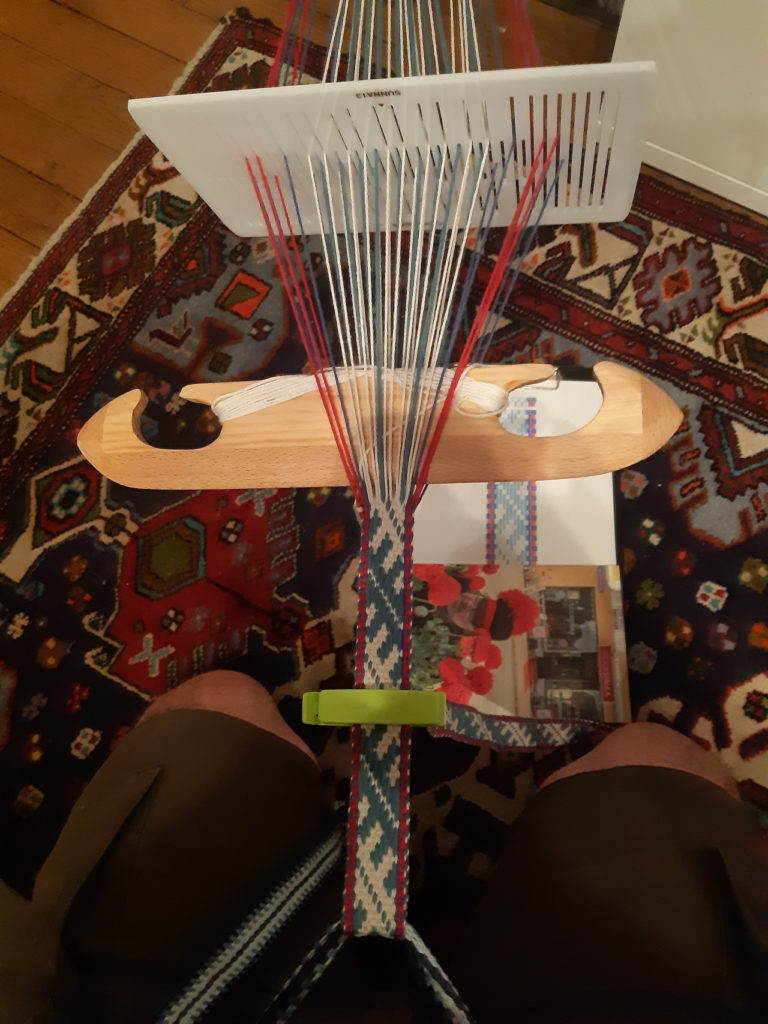
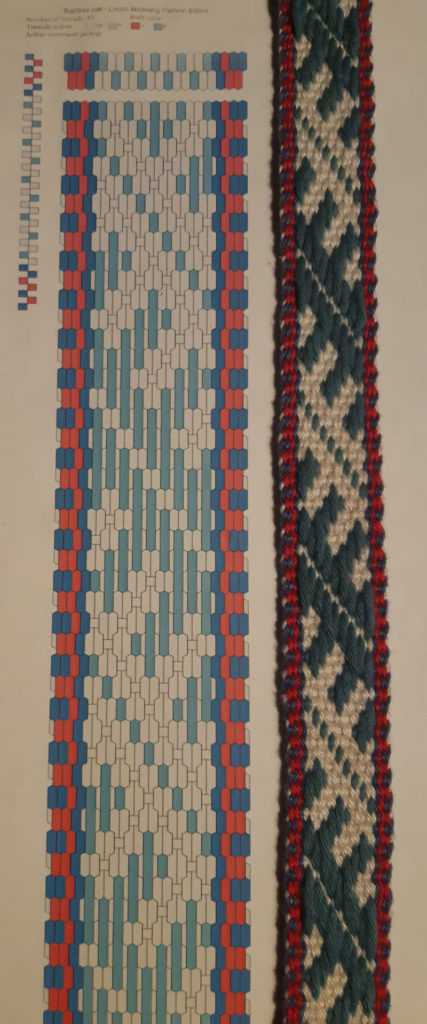
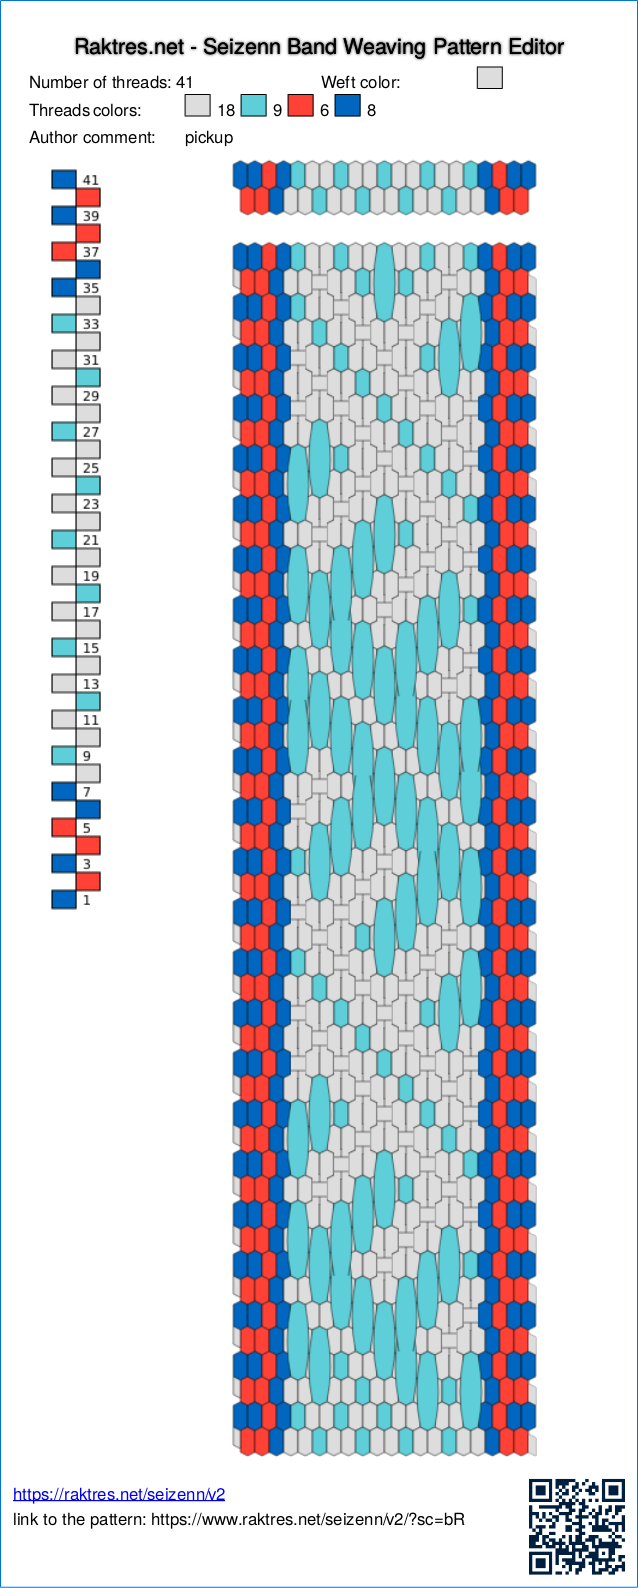
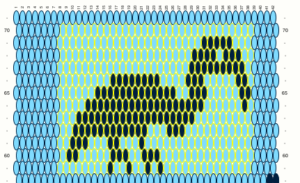
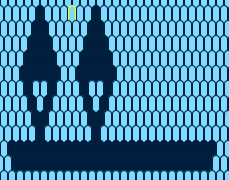
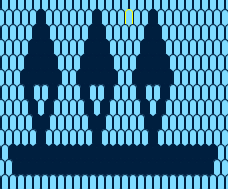
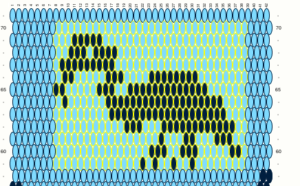
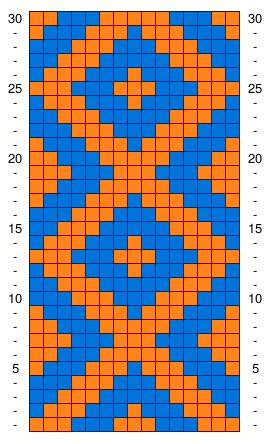
You are now ready to design a pattern inspired by your picture

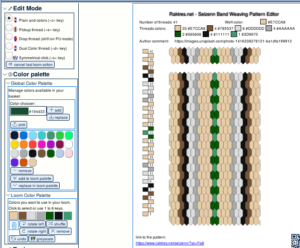
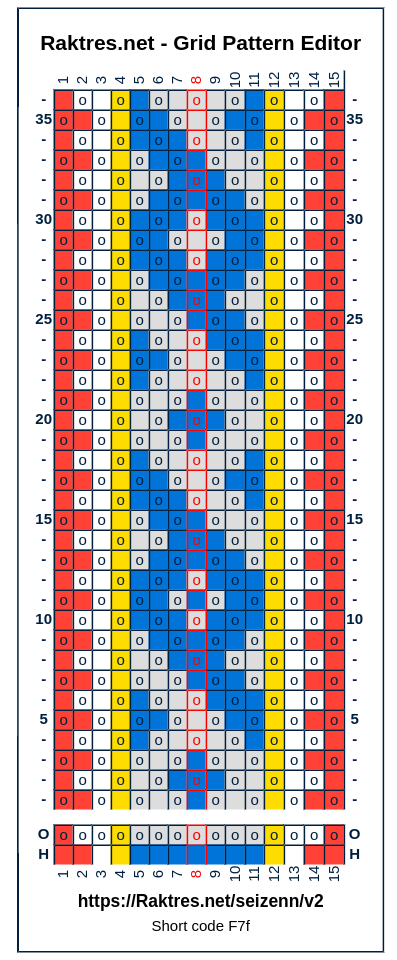
Link to the pattern : https://www.raktres.net/seizenn/?sc=Fa8

Maybe not the perfect tool, but a first try to see if it would be useful for someone.

Jeff


Seizenn interface evolutions – text buttons

Hi

The first version of seizenn (https://www.raktres.net/seizenn/editor.html) was created to work on desktop computers. When I began v2, I wanted it to work both on desktop and mobile devices and not to limit it to English speakers. I thought icons should help me for that two goals.

I received feedbacks saying the new interface was too disturbing.

As I continue to learn new programming things, I’m now able to adapt the new interface https://www.raktres.net/seizenn/

Now on top right of the screen there is a new menu :

  • the broken chain only appears when you are offline
  • clic on the icon with the profile to log. It’s red when you are not connected.
  • the third one shows if seizenn detect a desktop or a mobile device.
  • with the first checkbox, you choose if you want menu on the left of the screen or at the top
  • with the second checkbox you choose if you want to use icon or text button
  • use the selector to change language.

As an example, with the icon/text checkbox you can choose between

  or

When you open Seizenn on a desktop, the tool uses text button on the left by default. On a mobile device, it uses icons on top. You can change as you want.

You may notice that I now use the new link https://www.raktres.net/seizenn/ for the new version in replacement of https://www.raktres.net/seizenn/v2/. The old version remains available on https://www.raktres.net/seizenn/editor.html

I hope those new evolution will help you.

Jeff


A new way to register patterns

Hi

From the start, the method of saving and registering pattern was a bit clumsy.
You had to save the pattern in Seizenn’s screen, get two codes and then go and register it in the blog. It was the only way I had found to be able to assign a pattern to an author with a very simple Seizenn tool and without an authentication system (https://www.raktres.net/blog/2018/10/06/display-your-patterns-in-the-gallery/)

The new version of Seizenn ( https://www.raktres.net/seizenn/) allows me to develop much more efficient functions, for example a new way to save and share patterns.

First you log in the tool.

For that, open the main menu with and choose the  menu.

Type in the username and the password you use on the blog.

When it’s done, a little character appears at the top right of the screen. You are connected.

If you then save a pattern with the    
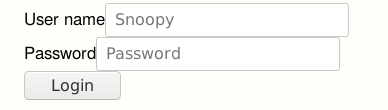
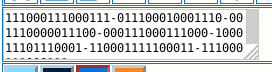
button, you only get the shortcode to your pattern :
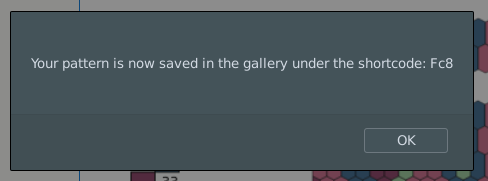
Go to the gallery page from the main menu.

The screen is devided into two parts, “List of public patterns” and “List of your patterns”. Click on the title to open the panel you want to open and click on “load” to refresh the list.

Your pattern should now be visible :

I will now work on improving personal page and gallery screen, adding functions, improving the interface.

Do not hesitate to leave a comment if you have any remarks or proposals.

Selection tool for grid patterns

Hi

I keep improving the seizenn tool.

After adding the possibility of making grid patterns, I tried to improve the use on the mobile device. The tool can now be installed on Android or iOS to be used without an internet connection. If you need help with the installation, you can see this article on installing a PWA .

I tested it on iPad, it’s really good.

The latest novelty is the addition of a selection function for grid patterns.

Select the 
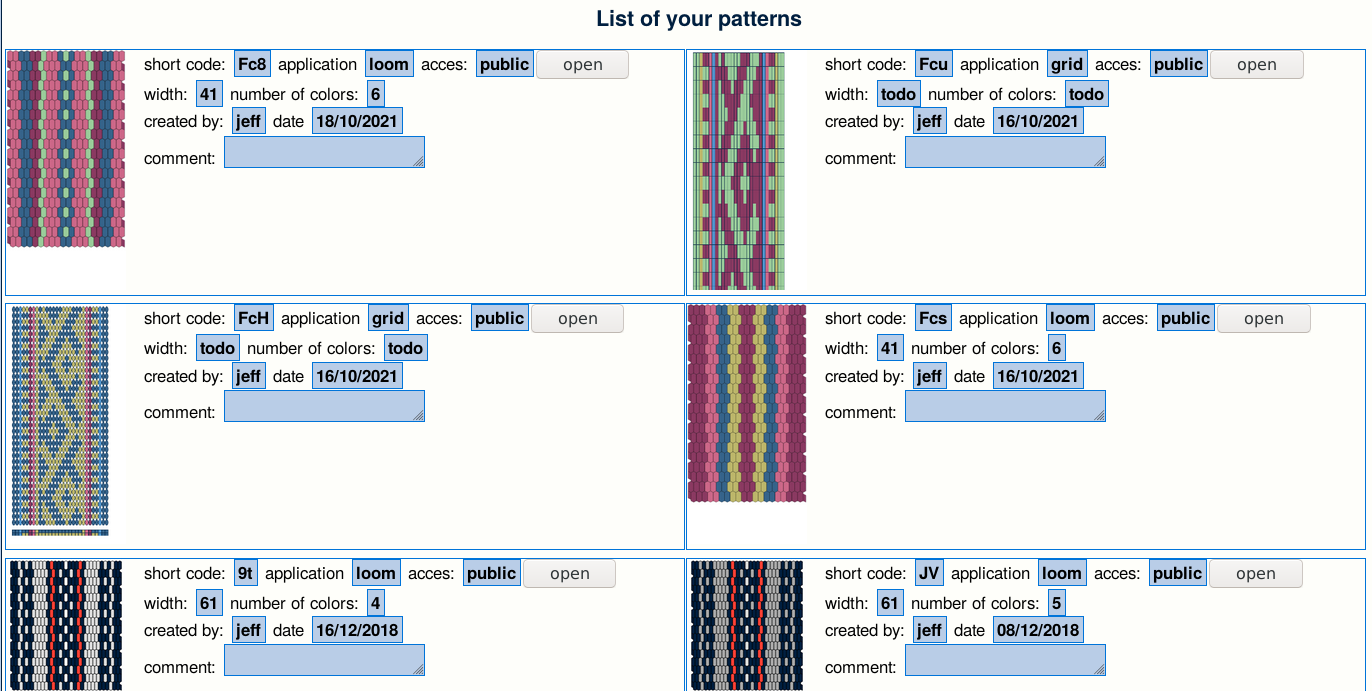
button in the edition menu (the “pencil menu”).
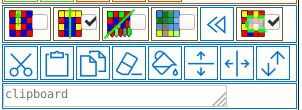
When selected, several buttons appear.

When you click on the grid, the border of the selected cell switch to yellow.

You can select an area by holding down the mouse button.

It is then possible to:

  •   erase the selected area
  •   cut it
  •   swap colors
  •   fill it
  •   invert up-down
  •   invert left-right


When you have copied an area with the button, click where you want to paste it (the reference is the up left point), before pressing the button .

This function will facilitate the construction of repeating patterns.

=> => =>

Be careful, if the grid alternates, a paste may not give the expected result because of the offset. (A button might help in this case, please ask for it if needed).

The text box contains the content of the copied selection.

It can be modified, or saved in an external document. It is thus possible to share patterns or to build a library (small development to do if you find this function useful)

Do not hesitate to leave a comment to give your opinion on these new possibilities.


Band Pattern Editor overview videos

Hi

To help users get to grips with the new version of Seizenn, I started a series of videos.

They are intended to present the main functions of the tool, to show ways of using it.

The first presents the general interface of the tool as well as the principles of editing a band. https://youtu.be/-Nr8dm-IPSI Band pattern editor The second shows the use of the grid band editor. https://youtu.be/iUCrduK4Aco Grid band pattern editor

If you need a specific explanation or clarification, I encourage you to leave a comment.

Seizenn – update of V2 – improvements and grid patterns

Hi

First of all I would like to thank all those who support me for the creation of this tool. It is with great pleasure that I see that it is being used and that it allows many people to experiment with band patterns. It is very motivating to continue.Annie MacHale three-color pickup for inkle weavers

To celebrate the new book of Annie MacHale, I work back on the next version of the Seizenn pattern editor : https://www.raktres.net/seizenn/

Seizenn band weaving Editor

I took into account the two main feedbacks I received :

  • First an “undo” button, you can now revert for a few steps ;

  • Second an attempt to select the language used in the interface. For the moment you can choose between english, french and spanish. Everything is not translated yet, and as I mainly used an internet translator, I’m not sure everything is fine. If you wish to report mistakes or ask for a new language (danish ?), just leave a comment.

I also tried to extends the instruction page (instruction are not translated into spanish for the moment), mainly to allow users to do the link between the icon buttons and the functions.

An other major improvement is the ability to draw “grid patterns”. The aim and use are a bit different from the traditionnal hexagonal editor.

This tool may not work on old computers. I will therefore make sure to the present version available even when this one would be completely ready.

I hope you will like those improvements and that they will help you for your patterns experiments. Video would be probably needed to show the different functions.

Jeff


Basic Instructions for using Seizenn − Band Weaving Pattern Editor

Hi

While creating my Seizenn Band Weaving Pattern Editor, I exchanged a lot with Annie MacHale (https://aspinnerweaver.blogspot.com/) to try to offer a simple and efficient tool for weavers. As one of the first users, she did very interesting things with it. Her book of course – https://www.etsy.com/fr/listing/658320160/inkle-weaving-design-book-par-annie – but also some posts on her blog (for example https://aspinnerweaver.blogspot.com/2020/04/baltic-pickup-part-two.html).

She told me that when she presents this tool, new users are frequently confused by very basic tricks. I tried times ago to write some instructions on this blog but they are obviously not sufficient.

As I am working on an major update, Annie very kindly proposed to me few days ago to write basic instructions for beginners. And she improved it after presenting it to some of her friends.

She did a great job, on 4 pages you have enough instructions to let you understand how the tool works and it gives you keys to continue to explore it by themselves.

You can get it here : Instructions for using V1 Seizenn by Annie MacHale


http://www.raktres.net/blog/wp-content/uploads/2020/06/Instructions-for-using-V1-Seizenn-by-Annie-MacHale.pdf

With her permission I will translate it into french. And adapt it and include it directly into the next version.

Jeff


Buy a loom or build it?

What I like in weaving is that the idea is very simple but ways to achieve it are countless. Even for something as simple as band weaving.

A great subject for handyman.

First you can weave with almost nothing as in backstage weaving. Incredible how much intelligence could fit in a few sticks. At no cost.

Rigid heddle is a bit less rustic.

With two heddles and a pulley you get an African loom, really fast.

Inkle loom need some more materials.

Even if it is just a piece of wood with a few pegs, it is far more complex than backstrap. Some technical difficulties appear such as the tension that bends wood (needed to add additional pieces of wood). And different shapes could be tested.

And so many ways I didn’t explored yet (or explored but with not enough success to take a picture).

You can of course buy a loom. A good looking tool, well designed, nice to use, easy to start with.

But not the pleasure to face the challenge to create your own tools.

pickup with rigid heddle

Hi

I wanted to try rigid heddle. I ordered it on https://shop.stoorstalka.com/en/products/weaving/, and received it quickly with a nice handwritten note.

First try

I then designed a pattern for key ring raktres.net/l/bR (you can also try with the new version of the editor)

Then wove it using the picture from the editor

The pattern quite accurate.

Edit on october 22 2021:

The main difference comes from the size of the yarns that was not rendered. With the new update, you now get